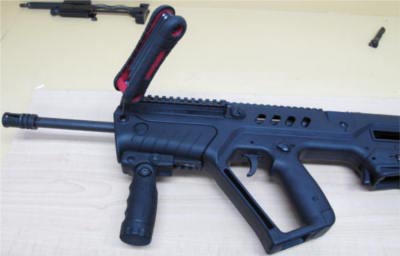
How to remove the barrel from the rifle
It is relatively easy to remove the barrel from a Tavor, since it was designed for it.
You will need
- Allen wrenches.
- Barrel wrench.
- Blue loctite.
- Hammer.
- Punches, different sizes.
Preparation
Perform a safety check.
Perform a preliminary disassembly.
Remove the front grip
Unscrew the two cocking handle guide screws (one on each side).
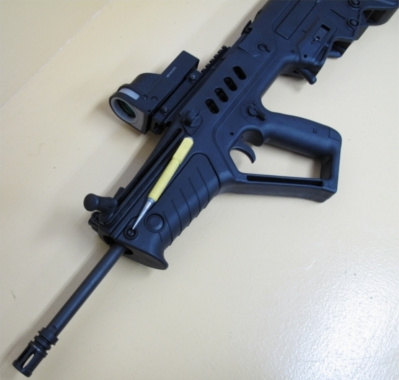
Pull the grip downwards. It rotates from the back.
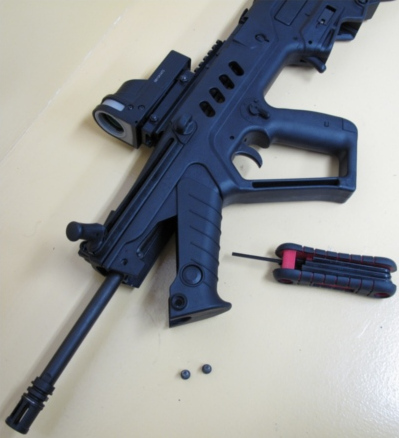
Remove the cocking handle guide assembly
Turn the rifle over. Pull out the security pin.
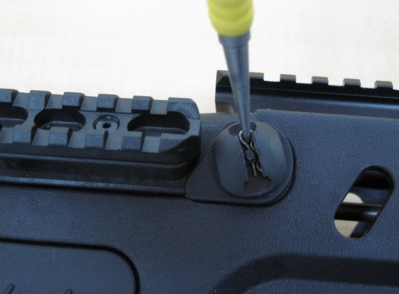
Turn the rifle over. Unscrew the forward sling sleeve from the sling lock. Remove both from the rifle.
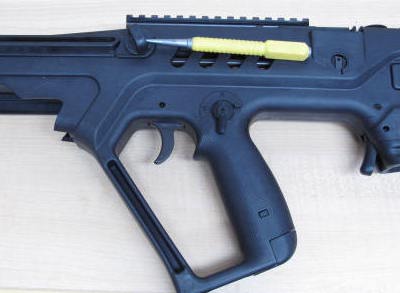
Pull the cocking handle guide assembly forward.
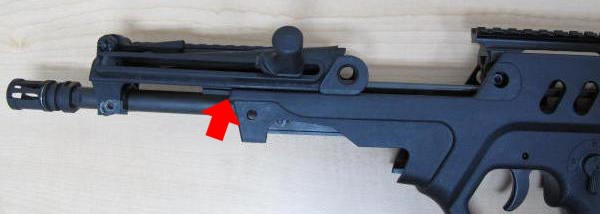
The cocking handle guide assembly should slide right off at this point. But this is assuming you removed the flash suppressor first!
I have not done that. So when the assembly reaches the flash suppressor you need to gently pull on the receiver (red arrow, on both sides!) to disengage the assembly from it. Pull the assembly up to clear the flash suppressor.
Remove the barrel
Two things must be done at the same time:
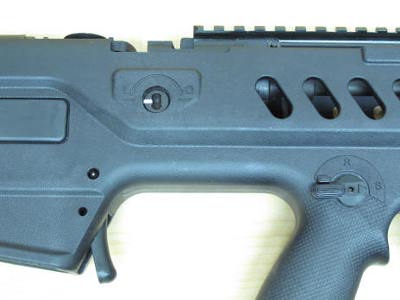
- Unlock the plate locking pin barrel lock (top picture). Simply push on it with a punch.
- Using a barrel wrench, turn the barrel locking pin (bottom picture) 180°. The barrel will be unlocked when the white line is aligned with "O".
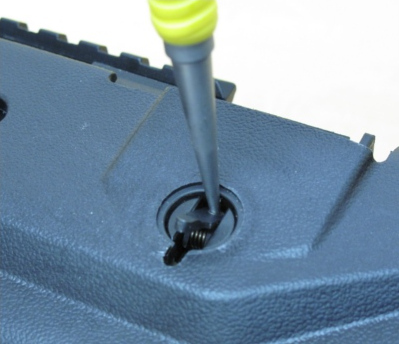
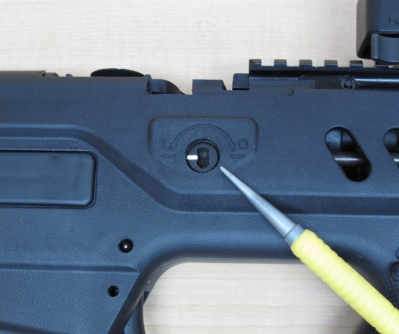
The barrel locking pin is quite hard to turn, especially if - like me - you do not have an official barrel wrench and must make do.
Once the pin is turned, slide the barrel forward and out of the rifle.
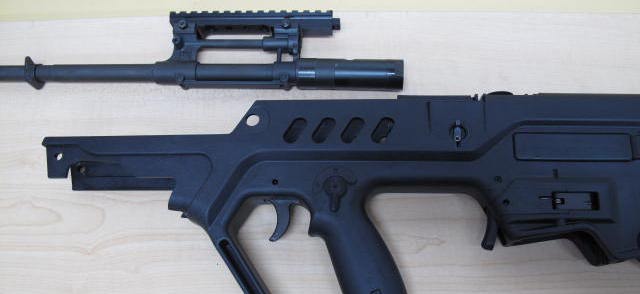
Put the barrel back in place
Reverse the steps to put the rifle back in place.
With the white mark on the barrel lock pin aligned with "O", insert the barrel into the receiver. Push it all the way back. The barrel aligns with the insert and the gas cylinder.
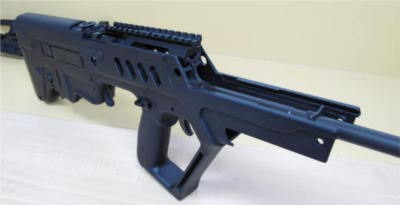
Lock the barrel in place. Using the barrel wrench, turn it until the while mark is aligned with "L".
This can be quite difficult. I had to strugle with mine quite a lot. Be careful you do not damage the locking pin.
Assemble cocking handle and grip
Insert the cocking handle bar into the cocking guide hole. Align the tracks on the cocking handle guide assembly with the ridges on the receiver and slide the assembly into the receiver.
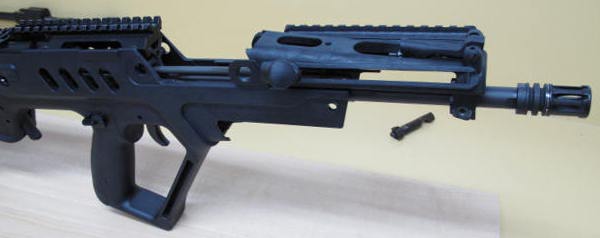
Assemble the sling swivel to lock the assembly into place. Remember to reverse it from it's original setup.
Aligning the tracks and ridges on the cocking handle guide assembly and receiver.
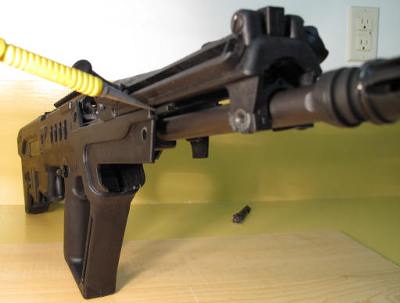
Assemble the grip. Make sure you first insert the back of the grip on the receiver. Then rotate up. Apply a thin coat of Loctite on the guide cocking handle screws and tighten them.
